上篇我们介绍了从镜像仓库安装了第一个NGINX容器,这一篇我们介绍如何对nginx的配置文件进行修改。
docker有两种方式,一种是直接进入到docker容器对配置文件进行修改,第二种是把宿主机的配置挂载到docker内。
我们先启动我们的nginx
docker start nginx-test

docker ps -a
可以看到我们的nginx 已经 up。
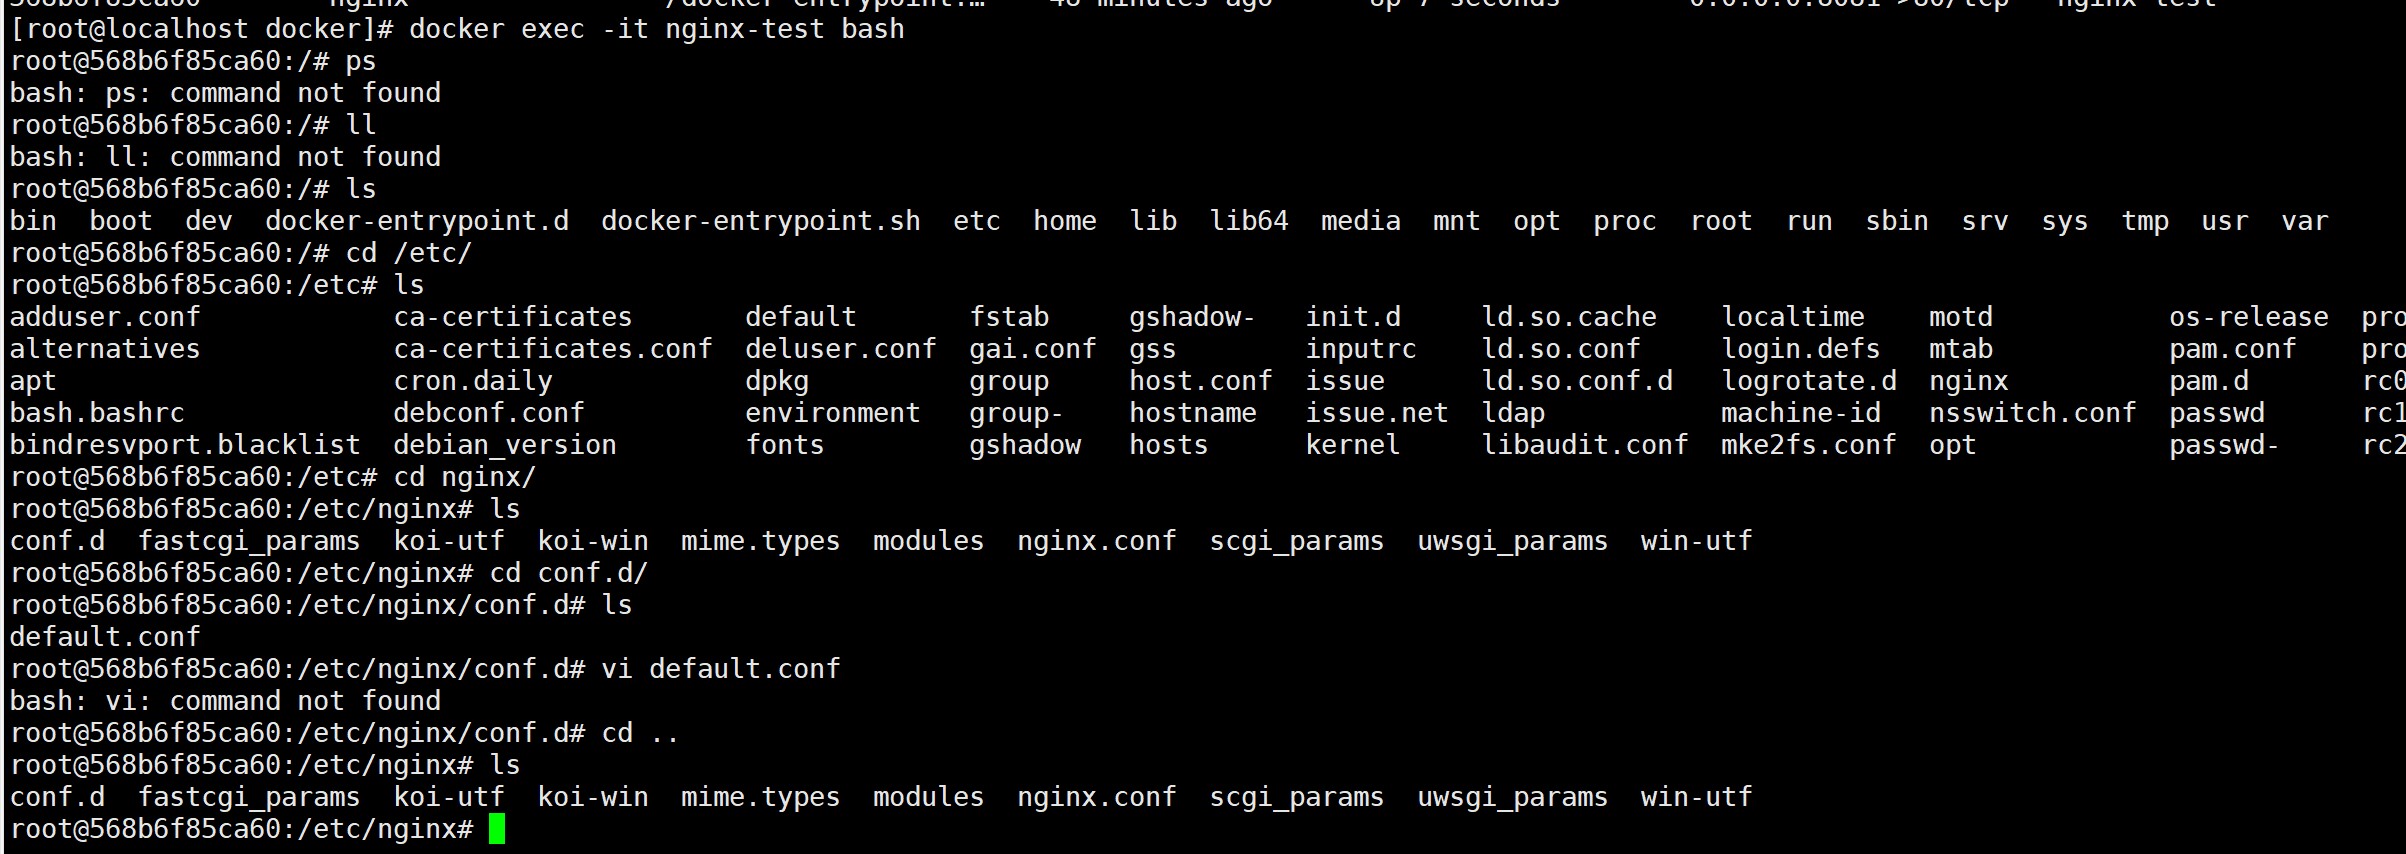
docker exec -it nginx-test bash
进入我们的docker
里面只包含基本的命令,很多命令是没有的,其中包含vi ,我们要进行安装。
首先我们也是要换源,由于种种原因,官方镜像中使用的是官方debian源,我们连接很慢,或者干脆无法连接。
下面我们更换为阿里云源。
mv /etc/apt/sources.list /etc/apt/sources.list.bak

cd /etc/apt/
echo "deb http://mirrors.aliyun.com/debian/ stretch main non-free contrib">sources.list
echo "deb-src http://mirrors.aliyun.com/debian/ stretch main non-free contrib">>sources.list
echo "deb http://mirrors.aliyun.com/debian-security stretch/updates main">>sources.list
echo "deb-src http://mirrors.aliyun.com/debian-security stretch/updates main">>sources.list
echo "deb http://mirrors.aliyun.com/debian/ stretch-updates main non-free contrib">>sources.list
echo "deb-src http://mirrors.aliyun.com/debian/ stretch-updates main non-free contrib">>sources.list
echo "deb http://mirrors.aliyun.com/debian/ stretch-backports main non-free contrib">>sources.list
echo "deb-src http://mirrors.aliyun.com/debian/ stretch-backports main non-free contrib">>sources.list
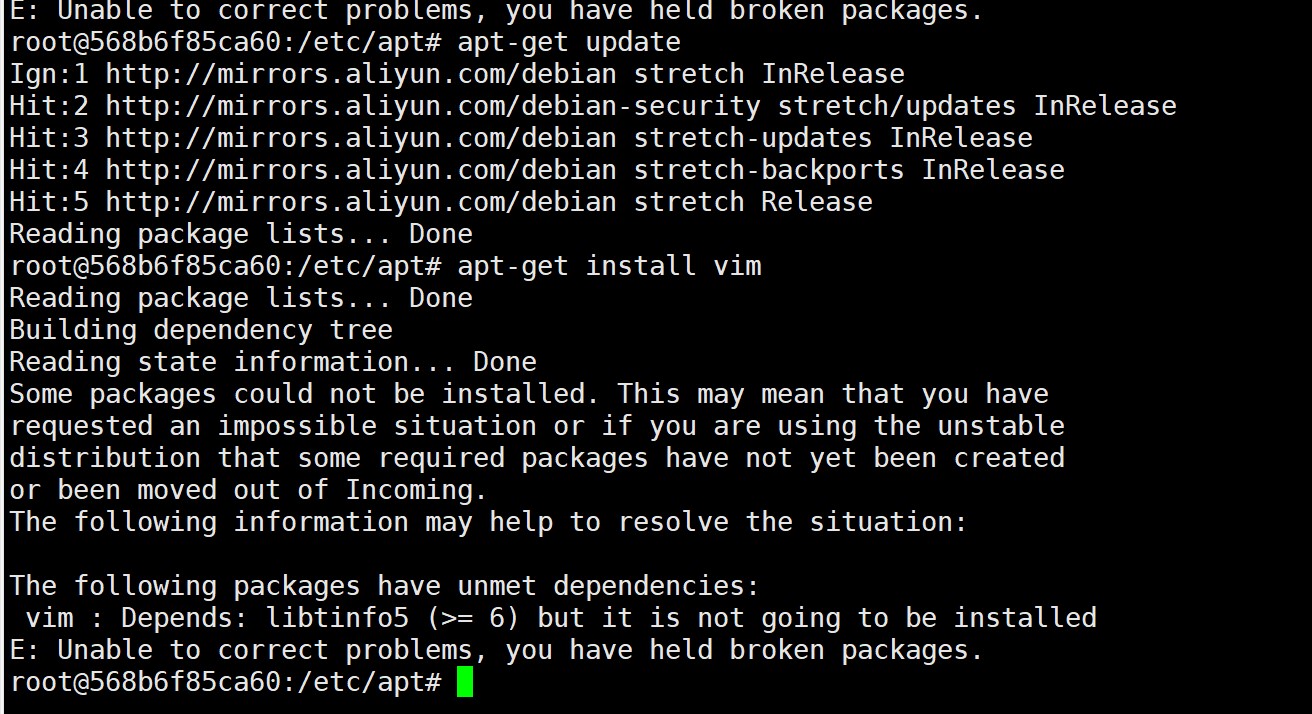
更新源,并安装vim 。
apt-get  update

apt-get install vim
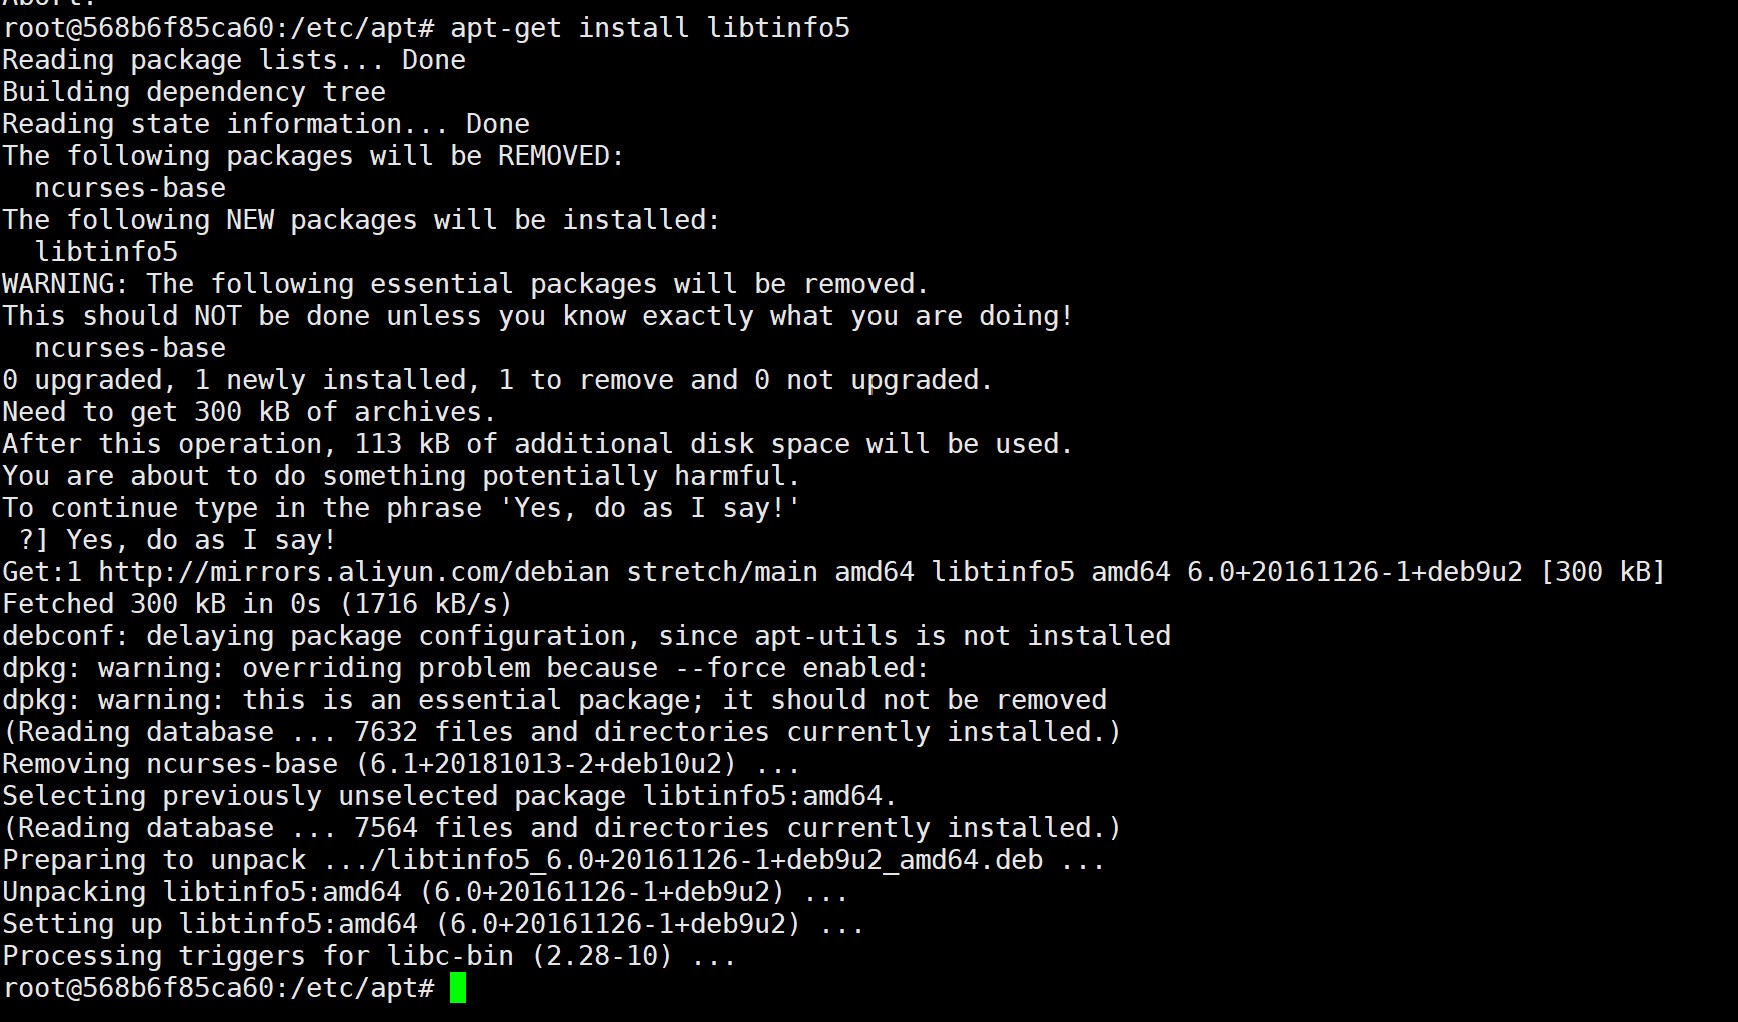
提示没有安装libtinfo5,确认安装需要输入:
Yes, do as I say!
输入y,yes都是没有用的。
再次安装vim,并顺便把wget 也安装一下。
apt-get install vim wget -y
安装完成我们是可以使用vi编辑nginx配置文件了。
vi /etc/nginx/nginx.conf
其中 include /etc/nginx/conf.d/*.conf;
cd /etc/nginx/conf.d/
可以看到,默认目录在/usr/share/nginx/html;
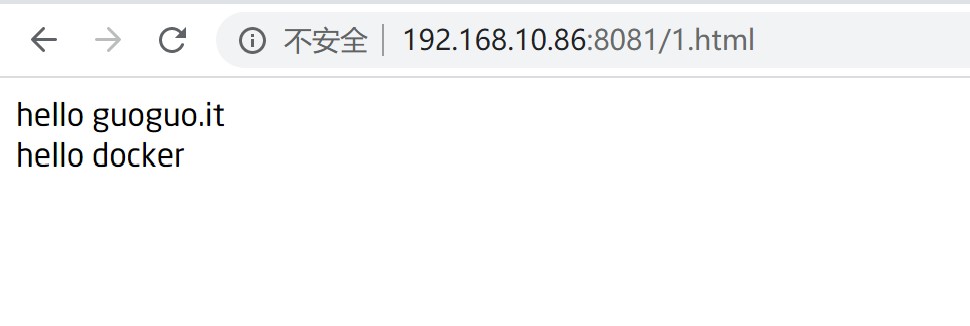
我们随便创建一个页面验证一下
可以看到,直接在docker内部是可以创建修改配置的。
下面我们介绍第二种方式,把宿主机的配置目录挂载到docker内部。
我们要把本地/home/nginx/config/default.conf文件挂载到docker内部的/etc/nginx/conf.d/default.conf,
本地的/home/nginx/html/目录挂载到docker内部的/usr/share/nginx/html/
我们需要创建一个新的容器,取名nginx-test2,并创建本地的文件和目录,确保nginx配置文件的正确。
docker run --name nginx-test2 -p 8082:80 -v /home/nginx/config/default.conf:/etc/nginx/conf.d/default.conf -v /home/nginx/html:/usr/share/nginx/html -d nginx
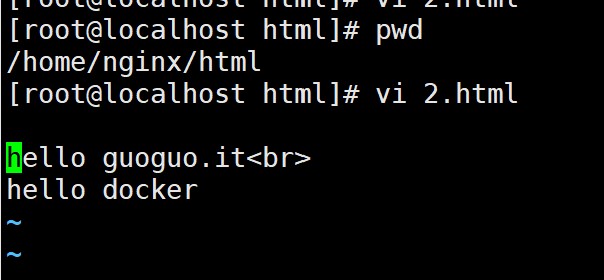
我们在/home/nginx/html/目录中创建 2.html 用于测试。
可以看到,我们已经正常访问宿主机本地的页面了。
转载请注明:果果.IT » 果果.it 笔记-docker容器配置的修改与挂载


